

I am new to running. For most of my life, running was something one did if chased or needing to get somewhere fast without a car. It has taken me until now to see it’s merits and there are moments that I still have doubts.
On the plus side, running is cheap, accessible, infinitely customizable for time constraints and intensity and provides a great calorie burn. On the down side- it hurts. Well, for me, the first mile really hurts. It is what happens after that first mile that compels me to run. Somewhere around a mile, the pain eases, my breathing relaxes and I can get outside the protests of mind and body to appreciate the beauty of nature. The best part is after the run. No matter how tired I am at the start, the run energizes me for the rest of the day. Nothing seems impossible and there is a level of joy for life that does not seem to follow my elliptical workouts. All of these up-sides will probably keep running on my self maintenance list for the foreseeable future.
Like most new activities, I dive in with body and mind. I am trying to learn all I can about running. After reading the book Born to Run by Christopher McDougall, that details the amazing athleticism of the Tarahumara tribe of Mexico, something stuck with me. How they fueled their runs. Of course- the take home point for me would be about food. They swear by a special kind of corn meal cake made with corn meal that has been treated with lime water called Masa Harina. The soaking of the corn in the alkalizing lime, allows it to form a dough when handled and makes it more nutritious by freeing the niacin for digestion and radically improving the amount of calcium, iron, copper and zinc the body can get from the meal. Many grains, seeds and nuts can be infected by potentially harmful mycotoxins (I am looking at you peanut butter. I love you but- why must you be infected with mold??), but are reduced 90-95% after lime water soaking.
I tried a handful of different recipes for these cakes known as Pinole. Most were a disappointment. Too bland, boring, hard or dry. How can chocolate pinole fail to please?? The best recipe I found was by a favorite blogger, The One Ingredient Chef, Andrew Olsen. If you want some great plant based recipes and pretty pictures, check out his blog and Pinole recipe here at One Ingredient Chef. So I started my recipe adaptation using his and making it sweeter and more exciting with the addition of pumpkin seeds, peanut butter (I still love you) and fruit. I also simplified the process to eliminate the food processor and make it a one pan endeavor. Who wants to clean more stuff? The result is a portable, nutritious, high energy snack that travels well. It is not a cookie, but more a snack with a purpose that you can feel good about.
Pinole Cakes for Athletes
Preheat oven to 350 degrees F
2 cups Masa Harina
4 tablespoons Chia Seeds
6 tablespoons agave or honey or rice syrup (whichever you like)
1 very ripe mashed banana
1 tablespoon nut butter (I used peanut butter)
¼ cup pumpkin seeds (I use the salted variety)
¼ cup dried cranberries (or any dried fruit of similar size)
1 ½ teaspoons cinnamon
1 cup water
Begin by placing the masa harina and chia seeds in a large skillet and stir to combine. Toast over medium heat stirring constantly for 5-8 mins. until it smells sweetly toasted. This can over-toast (AKA burn) quickly so turn off the cell phone and pay attention.

Once toasted, add everything else except the water. I find it easier to mix the sweetener with the nut butter separately on the edge of the pan or in a cup. Stir to combine.

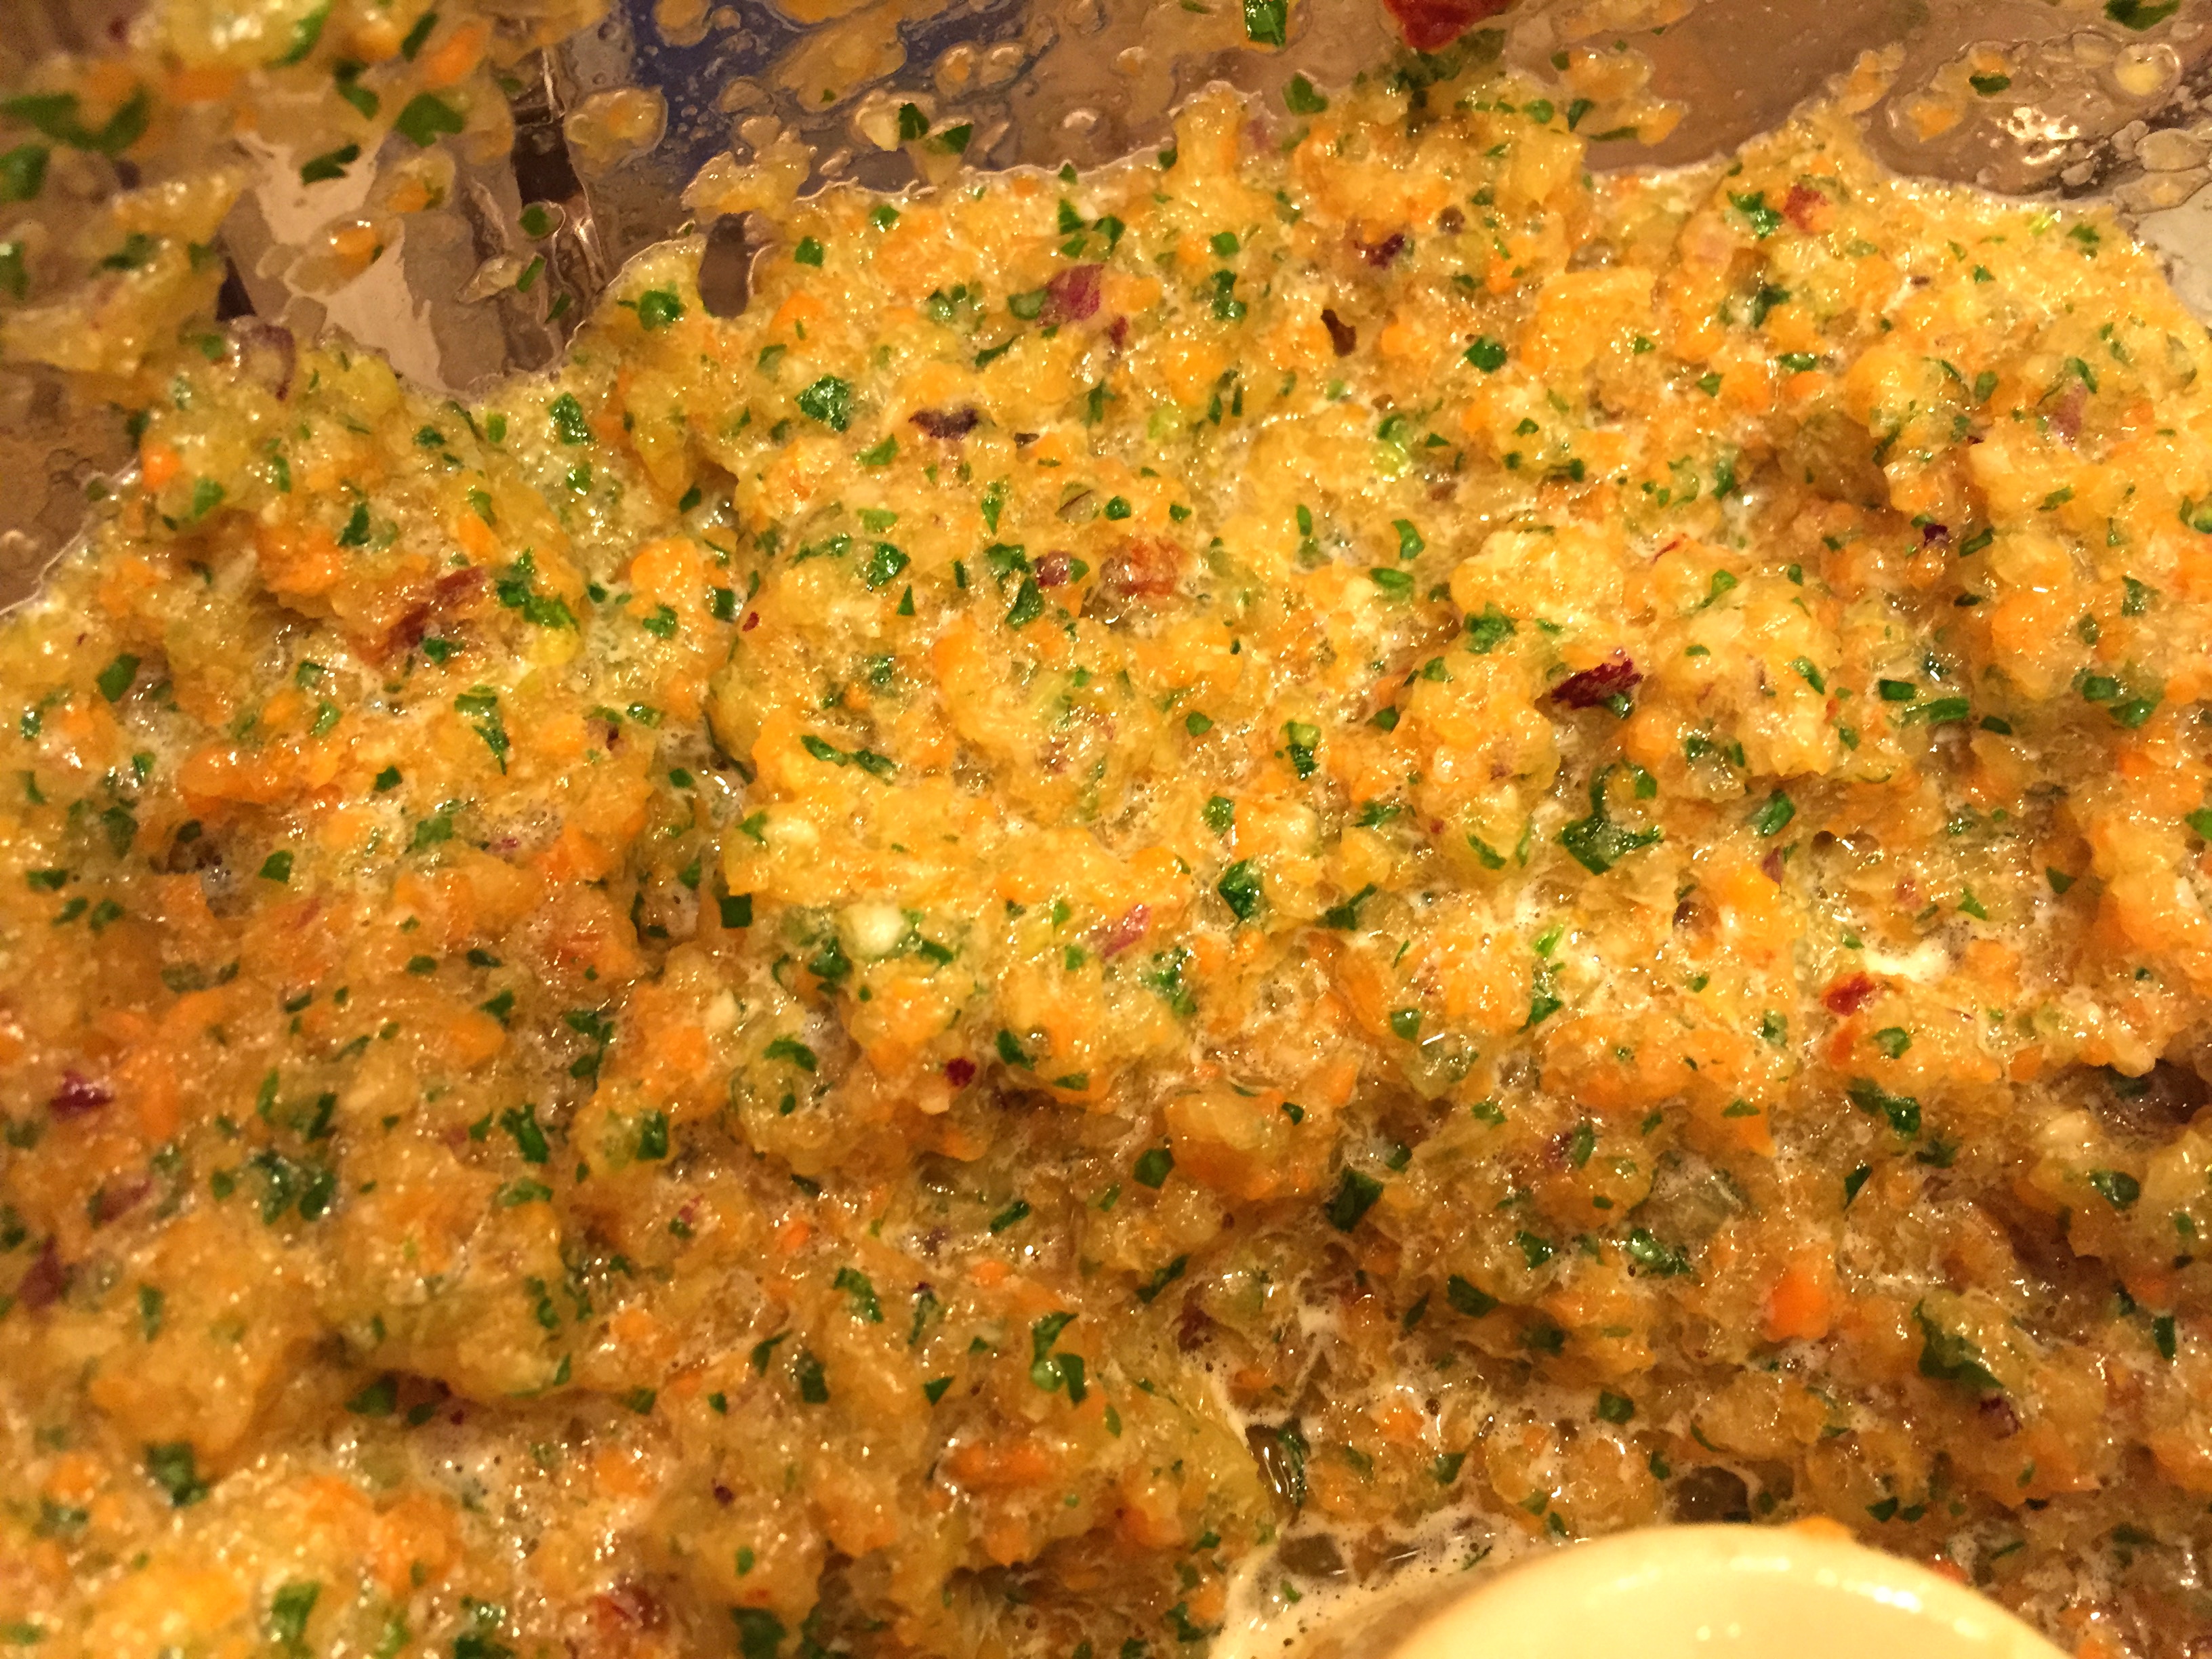
This mixture will be thick and may be easier to mix with your hands. Here is the consistency of dough you are looking for. As with all baking, humidity levels effect flours so you may need slightly more or less water to achieve this dough:

Spread the dough out onto a silicone or parchment lined baking sheet to a ¼ inch depth. Pat into a rectangle. This makes a 11 x 12 inch rectangle for me.

I keep a plastic ruler just for cooking. With it, I shore up edges to be straight and score dough for even sized portions. Here is the dough sectioned into 30 portions:

Bake in a 350 degree oven for 10-12 mins. until lightly browned with small cracks formed on the top. Cool for a few mins. before slicing.

Stored in a cookie jar, these keep for a few days. They also freeze well. They are sturdy enough to wrap up and put in my running pack or purse. When made with honey and peanut butter, they come out to about 45 calories each. You can make these with regular corn meal but the results will not be as tasty or nutritious. I have tried it both ways.
Hope this snack helps keep you energized without ruining your healthy eating plan. Keep moving forward 🙂 I would love to hear how readers fuel their workouts and what you do with this recipe!

